

Our Monthly Journal
May 2023
We're so excited to share another monthly journal written by the lovely Lola Jones, also known as @pocketfullofbuttercups on Instagram. Lola is a wonderful photographer and all round creator of beautiful content, raising her twin daughters Maya and Chloe & her baby Thea from her house near the Peak District. Each month she will give us a small glimpse into her world, inspiring you with activity ideas, recipes and more.
Last month we celebrated my twin girls’ 8th Birthday, so all sorts of party things were on my mind leading up to it and one of the projects I share here has been inspired by it.
True to my usual style, the second project is also incredibly simple and can be enjoyed by children and adults alike. Lastly, I share with you a delightful book - a timeless classic reimagined.
Should you decide to have a go at any activities, we would really love to see them. Please tag us Please tag us #inspiredbynelliequats


SPRINKLES CAKE TOPPER DIY
These days you can buy pretty much everything, but there is something very special about making this or that from scratch with your own hands, isn’t there?
You will need:
- Foam board 5mm thick
- Pencil
- Paper or cardboard
- Scissors
- Craft glue (I used Mod Podge)
- Brush
- Stanley knife
- Skewers
- Hot glue gun and sticks
- Sprinkles

Draw a number or a word that you would like to turn into a cake topper on a piece of paper or cardboard, cut it out and copy it onto the foam board. Using the Stanley knife carefully cut it out.
Next, measure (cut to size if necessary) and attach the skewer to the back of your word or number using a hot glue gun. Once the glue is set and the skewer is properly attached, use the brush to spread the craft glue all over (front and back) and shake the sprinkles onto the glue. Keep shaking until the whole of the topper is covered without any gaps showing. Stand in a jar or a glass while the glue dries. Once completely dry, it is ready to adorn your cake.


MAKE & DRESS YOUR OWN PEG DOLLS
We had too much fun making these with my older girls. It’s amazing how you can turn a simple plain wooden peg into a doll with it’s own personality by just using some paint and scraps of fabric.
The girls were so proud of these dolls we made together, they took them to school to show their teachers and the classmates. These dolls are great for imagination play, as you can create various characters and there are endless possibilities when it comes to dressing them!
You will need:
- Wooden dolly pegs
- Acrilic paint
- Brushes
- Fabric scraps/pompons/ribbons etc.
- Yarn
- Pipe cleaners
- Hot glue gun & glue sticks
Start by painting your dolly pegs with acrylic paint - tiny dots for eyes, or lines if you want them closed, and heart-shaped lips. Wait for the paint to dry before painting the top on your doll. While the paint dries, start on the outfits and other elements. We pre-made hair, skirts, wings, crowns and a hat. Once the paint was dry, we dressed our dolls.
To make the hair, take your yarn and wrap it around the four fingers on your hand a few times.
Carefully slide the yarn off your hand and tie it in the middle with a separate string of the same yarn. Next, cut the loops on each side.
We made crowns with a golden ribbon we had by making a zig-zag pattern on one side. You could also make one from paper or card, whatever you may have handy at home.
Our many skirts were made of tulle, lace ribbon and pompoms. Have fun creating yours from whatever you may already have at at home.
To make wings out of pipe cleaners, take one pipe cleaner (ours are 30 cm long) and fold each end into the middle to make two loops (wings). Overlap the ends slightly so you can wrap them around the middle of the pipe cleaner.
For the mini hat, we used a tiny bit of tulle and a small pearl flower we had in our craft cupboard.
Use hot glue to attach the hair, crowns, hat, skirts and wings to your dolls and see them transform.


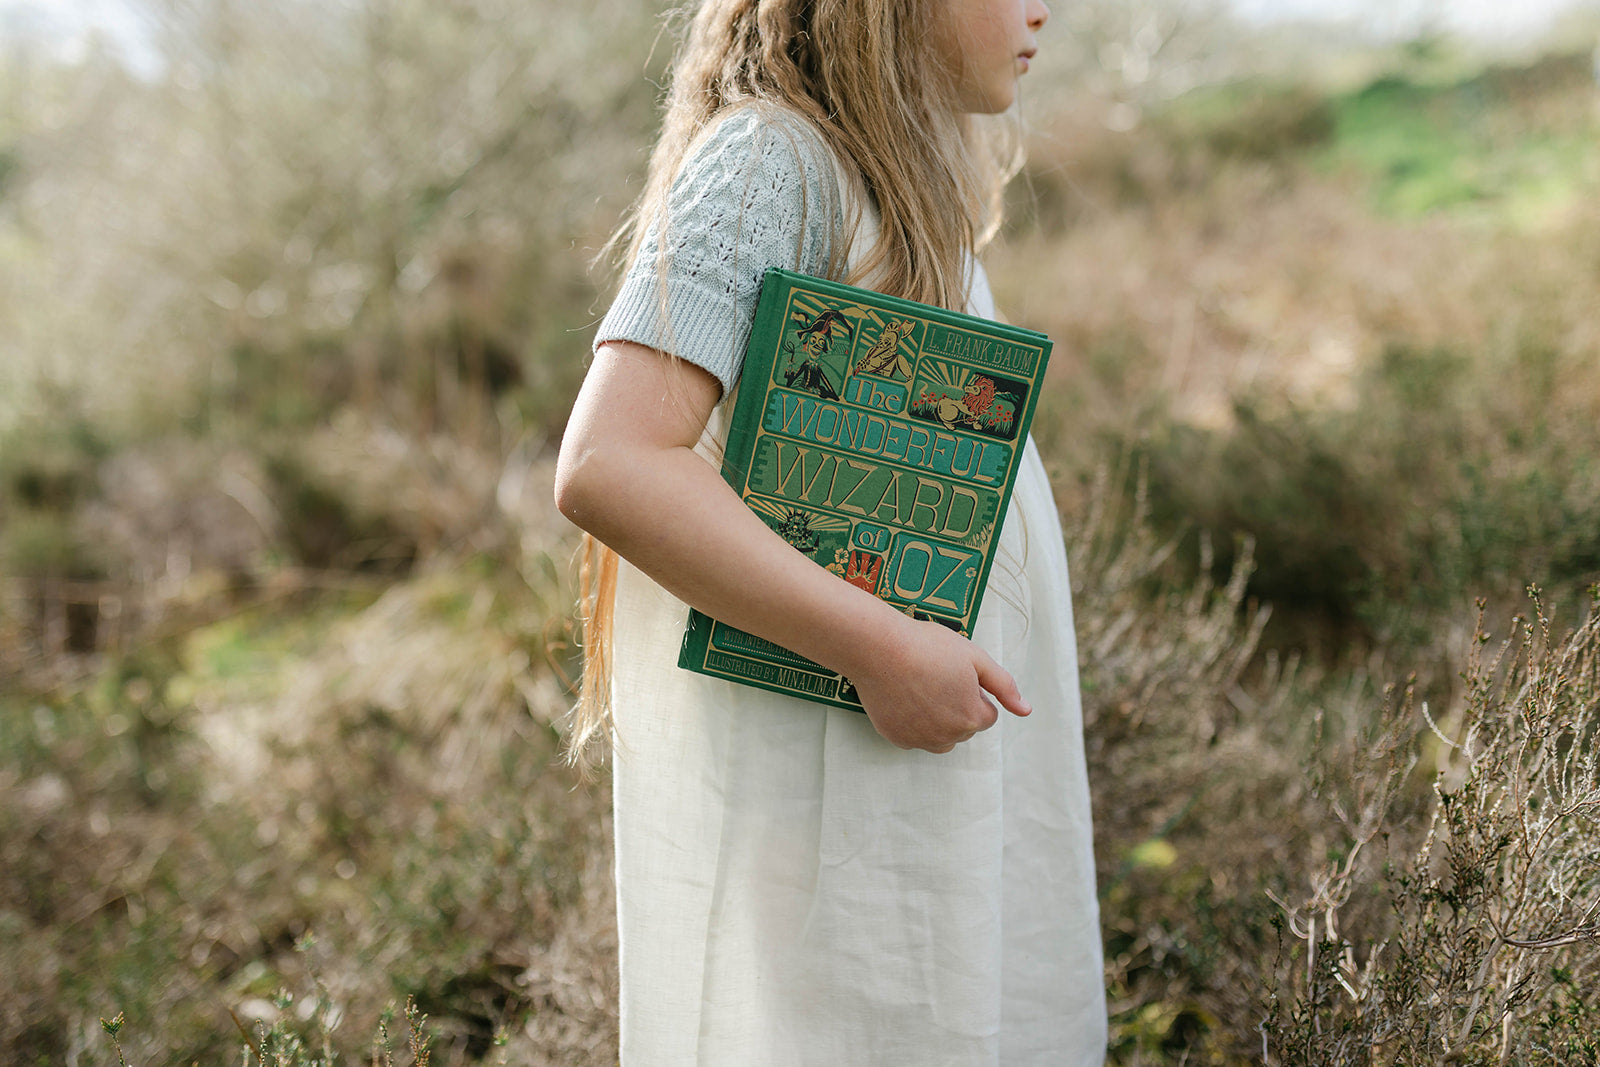
THE WONDERFUL WIZARD OF OZ SPECIAL EDITION BOOK WITH INTERACTIVE FEATURES
I bought this book for my girls as a Christmas gift and it was such a huge hit, so I thought I would share it with you all! The book has so many delightful paper- engineered elements that bring the story to life, including a few interactive ones: a cyclone map that opens up to reveal the Land of Oz, a pop-up Yellow Brick Road, Oz glasses that provide a different look at the world, fighting trees with branches that move, Dorothy's silver shoes that can be clicked together and more.It would make a gorgeous gift, even for a collector.


